Getting started with Express.js
Server-side frameworks (also called web frameworks) are used to build applications that are both maintainable and scalable. These are used because they have a whole lot of libraries and tools which make our life(as a backend developer!) much easier. Express is one such framework that is built-in Javascript and works very well with Node.js. This framework is, by far the most popular and according to the StackOverflow survey 2019, is amongst the top 5 frameworks(including both frontend and backend) used by developers.
So, welcome to AfterAcademy! In this blog, we will learn about the Express and the features it offers.
What is Express?
According to the Express official website:
Express is fast, unopinionated, minimalist web framework for node.js.
What does that really mean, though? Let's break this statement.
Here, we all know what fast means, it means it has a very high performance. By unopinionated, they mean it is not a high-level framework like Laravel for PHP or Django for Python. It is very basic at its core. Unlike Ruby on Rails(the Ruby way), it does not assume that you are going to build an app or API in a certain way with any particular design pattern. Rather, Express.js gives you full control over how you want to handle the request and response, to and from the server. That also makes it minimalist. In fact, this is one of the most appealing aspects of Express. It provides a minimal layer between the developer's brain and the server and so it gets less in your way, allowing the developer to have full freedom in their ideas, while at the same time providing enough useful features.
Express.js is a server-side or backend lightweight framework and is often used in combination with front end frameworks like react, angular or vue, to build very powerful full-stack web apps. It is considered as powerful because it helps to create a web server that is readable, flexible, and maintainable.
If you are still feeling confused about what Express actually is, don't worry: sometimes its much easier to understand something, when you start working on it and this blog will help you to get started with express.
Why Express.js?
Express enables you to create a web server that is more readable, flexible, and maintainable as compared to developing a web server using only the Node HTTP library , which can get complicated for even the most basic web servers.
With Node HTTP library, you can create routes for various endpoints, you can also serve static HTML, CSS, and javascript files.
So let's look at how to create a web server in nodejs using the HTTP library.
const http = require('http');

http.createServer((req, res) => {
   res.writeHead(200, { 'Content-Type': 'text/plain' });
   res.end('Hello, AfterAcademy!');
}).listen(3000);

console.log('Server is up at localhost:3000...');
Express makes it easier to build a web server. With the Node HTTP library, even to write a simple logic it requires quite a bit of code like we have to manually grab the URL and check for the content type, etc. It is quite tedious.
Also, Express is used for both server-rendered apps as well as API's that serves JSON data. In fact, there are some other node frameworks as well like, Koa.js, Hapi.js, and AdonisJs but Express is by far the most popular Node.js framework.
Finally, It is great to use with client-side Javascript frameworks like react and angular as it's all Javascript and so you don't need to use multiple languages.
Installing Express
Make sure that you have Node.js installed on your machine. If you do not have it, download it first, from here .
In order to install Express, create a project directory with any name of your choice, open terminal, navigate to this newly created directory and run the following command:
npm init --yesNow, you can install Express either globally or locally. For global installation, run the following command in the terminal:
npm install -g expressOr, if you want, you can also install it locally into the project directory. For this, run the following command:
npm install express --saveWe are now done with the installation. Now let's move to the next section and build our very own web server with Express.
Creating Web Server
Now, let's look at the basic syntax of a web server. So, create a file called server.js in the project directory and write the following code in it.
// loading express in server.js
const express = require('express');
const app = express();
const port = 3000;
app.get('/', (req, res) => {
res.send("Hello, AfterAcademy");
});
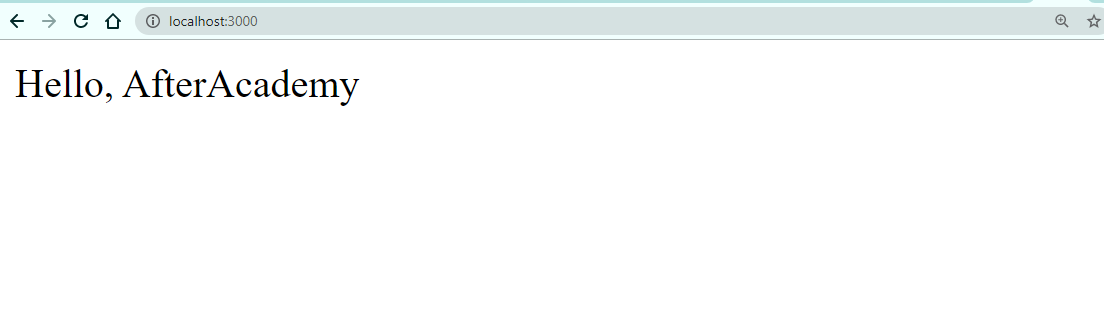
app.listen(port, () => {
console.log(`Server is up at ${port}`);
});The above code is actually the bare-bones to get the server to run in the browser. Now, Visit localhost:3000 in your browser. You will see the message.
So let's understand the code. Firstly we have loaded the express using
require()
and then to initialize Express, we have called
express()
method. After this, an endpoint is created, which will accept the
GET
request to the
'/'
route.
For
GET
request, we have used
get()
method which takes two arguments, the first being the route and second, is a callback function which is called
Route Handler
. The route handler itself takes two arguments, request and response object (
req
and
res
). Finally, a response in the form of text is sent to the client with the help of the
send()
method.
For getting a request in a specific endpoint, we have to listen to a port. In this case, we are listening to a port 3000.
This is what the basic server looks like. Now let's move to the next section and learn about routing and various HTTP methods.
Basic Routing and HTTP methods
Routing refers to the mechanism in which the server serves the client with the content it has asked for.
Within our route, we can do a lot of things like fetching the data from the database, rendering the pages, return JSON data, etc. In fact, we have complete access to request and response objects with the help of which we can manipulate the data. There can be many routes and each of them can contain multiple handler functions.
The syntax for defining a route handler function is:
app.httpMethod(path, handler) {...}
Here, httpMethod can be
get
,
put
,
post
,
delete
, etc. The path is the actual route where the request will go and the handler is simply a callback function that will execute when the requested route is found.
The HTTP protocol defines a collection of request methods that a client uses to communicate with the server. The most common among all the methods are
GET
,
POST
,
PUT
, and
DELETE
. Browsers will use the
GET
and
POST
methods when communicating with the server. Web services, on the other hand often get more creative with the HTTP methods used and uses
DELETE
and
PUT
methods. Let's learn one by one.
GET
GET
is used when we want to get some information from the server. For example, getting a list of courses from the AfterAcademy website is a typical example of
GET
.
GET
request looks something like this:
app.get('/about', (req, res) => {
   res.send("Hello, AfterAcademy!, We are inside about page...");
});
POST
POST
request is made whenever we want to send some data to the server. Data that is being sent is attached to the request object. A more common use case of post request is during form submission. The data from all the form fields(email, password, etc) is collected and sent with the request object to the server.
The POST request is made with the help of the post() :
app.post('/', function (req, res) {
   res.send("POST request to '/' route");
});
Let's say, we have a form that has two fields email and password. The user will fill the form from the browser(client-side). When the user clicks on the submit button, then a POST request will be generated and we have to check whether the email and password are present or not. If present, then we will send a JSON string containing the email and password else we will send a status of 400, which represents BAD REQUEST.
Since we are going to pass data in the form of JSON, we need to tell the compiler that we are going to use JSON and now we can access the elements in the body of the request. So, add the below lines:
app.use(express.json());Now let's write the POST method.
app.post('/getInfo', function (req, res) {
   if(req.body.email && req.body.password) {
      response = {
         email: req.body.email,
         password: req.body.password
      };
      res.send(JSON.stringify(response));
   }
   res.status(400);

});
You can test it by creating a form and connecting that with the above code or you can simply send the data using Postman.
PUT
If a client wants to update some data present on the server, then the
PUT
request is used. Here also, data is sent by attaching it with the request object. A PUT request is made with the help of
put()
:
app.put('/', function (req, res) {
   res.send("PUT request '/' route");
});
Let's say, we want to make a route through which a user can update his/her username. The username from the client(user) will be passed in the request object.
In the following code, we have first checked the id of the user(passed in the URL) in the database if it all present. If present, then simply update the username by using the mongoose findByIdAndUpdate() method.
// put request to update a user based on particular id
app.put('/user/:id', function (req, res) {
   var id = req.params.id;
   if (!ObjectID.isValid(id)) {
      return res.status(404).send();
   }
   var username = req.body.username;
   User.findByIdAndUpdate(id, {$set: username}, {new:true})
       .then((user) => {
            if (!user) {
               return res.status(404).send();
            }
            res.send({user});
       }).catch((e) => {
          res.status(400).send();
       })
});
DELETE
DELETE
request is made to delete some data present on the server. It is handled by the
delete()
method. This method routes the delete request to the specified path:
app.delete('/', function (req, res) {
   res.send("DELETE request to '/' route");
});
Let's say, we want to create a route handler that deletes a user based on a particular id.
In the following code, we have first checked if a user exists with the particular id or not. If it exists, we will delete the user from the database with the help of the mongoose findByIdAndRemove() method.
// delete request to delete a user based on particular id
app.delete('/user/:id', (req, res) => {
   var id = req.params.id;
   if (!ObjectID.isValid(id)) {
      return res.status(404).send();
   }
   Todo.findByIdAndRemove(id).then((user) => {
       if (!user) {
          return res.status(404).send();
       }
       res.send(user);
      }).catch((e) => {
         res.status(400).send();
      });
});
A normal website can contain many more routes! So, if we put all those routes in the same file, then the code will become a little messy. So, It's better to use some other technique for creating routes.
With Express, it's not mandatory to put all the routes in the same file. Express has a router that helps us to store the routes in separate files and then we can just export them in other files. The router instance is actually a middleware(more on this in the next section).
The following code creates a router instance by calling
Router()
,
defines some routes, and finally loads the router module in the main app.
Create a file and name it
route.js
with the following content:
const express = require('express');
const router = express.Router();

// define the home page route
router.get('/', function (req, res) {
   res.send('AfterAcademy Home Page!');
});

// define the about route
router.get('/about', function (req, res) {
   res.send('About AfterAcademy!');
});

module.exports = router;
Remember that here '/' denotes that you are inside route.js. So, when you request the '/' route, it will eventually be converted to '/route'. Similarly, '/about' becomes '/route/about'.
Now load the router in the main server.js:
var route = require('./route')

// ...

app.use('/', route) // defining middleware
The app is now complete and is able to handle a request to '/route' and '/route/about'.
With this in place, we are now done. If you want to build your own APIs using Nodejs and Express then you can visit here .
Let's move to the next section and understand what middleware means.
Express Middleware
Middleware functions are those that have access to request and response objects just like we do within routes. Middlewares are capable of changing requests, response objects, and can end the response cycle as well. You can think of middleware as a stack of functions that gets executes whenever a request is made to the server.
Generally, a middleware function takes 3 parameters: a request object, a response object, and a
"next"
function. Whenever you write a middleware, you must call this
next()
function at the end of every middleware function you write. In order to use middleware in your application, you have to make a call to
app.use()
and pass a middleware function as an argument.
For example:
const express = require('express');
const app = express();

const port = 3000;


// User defined Middleware
app.use(function(req, res, next){
   console.log('Inside Middleware function...');
   next();
});


// handling GET request
app.get('/', (req, res) => {
   res.send("Hello, AfterAcademy");
});

app.listen(port, () => {
   console.log(`Server is up at ${port}`);
});
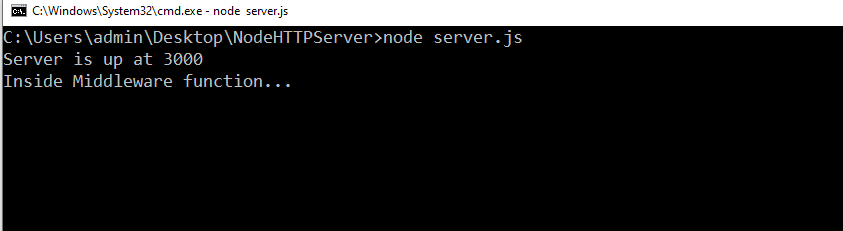
Here, we have written our very own anonymous middleware and passed it as an argument to
use()
method.
Now, start the server again, navigate to http://localhost:3000/, and press Enter. Next, go to the console, you will see this message.
If you do not call
next()
,
no more route handlers or middleware will be processed. If still for some reason, you don't want to call
next()
then just send a response to the client, or else the client will remain in hang state and eventually get timed out.
Let's remove the
next()
from the previous code, and then start the server again, navigate to the same port, and press Enter.
Did you notice anything? This time there is no response from the server and your browser is just in a hang state. Although if you open the console, you will see a message. This means that middleware did run but the code after that did not. That is why we must write
next()
at the end of every middleware.
A middleware function can take 4 parameters as well, in that case, it becomes an error-handling middleware, and the first parameter then becomes an error object, followed by the request, response, and next objects.
app.get('/', (req, res) => {
   var err = new Error("Error occured!");
   next(err);
});

app.use(function(err, req, res, next){
   res.status(500).send("Something went wrong!!!");
});
Notice, here that
app.use()
is written after the
app.get()
. So, the order is important in the case of middleware. Here, first, the get request will be processed and then the middleware will execute.
In the previous section, we have learned about the various route handlers(app.get(), app.post(), etc). These can be thought of as middleware(as they have access to request and response objects) that handle only a specific HTTP request(GET, POST, etc). Conversely, Middleware can be thought of as a route handler that handles all HTTP requests.
Express comes with built-in middleware but middleware also comes from 3rd party packages.
Serving static files
In the very first example, we have served the client with the plain text(i.e. "Hello, AfterAcademy"). With the help of Express, we can even serve static files to the client. But what are static files? Static files refer to the resources that don't change on a per request basis like the multimedia files (audio, video, images), HTML and CSS files, PDFs, zip files, and even client-side javascript files.
The server must know where these static files actually live in order to do the serving. So let's create a directory called
public
at the root of the application. Inside this directory create two files
index.html
and
style.css
.
Now let us write some code in
index.html
:
<!DOCTYPE html>
<html lang="en">
<head>
<meta charset="UTF-8">
<meta name="viewport" content="width=device-width, initial-scale=1.0">
<title>Expressjs</title>
<link rel="stylesheet" href="style.css">
</head>
<body>
<h1>Hello, AfterAcademy!</h1>
<h3>This is tutorial for Getting started with Expressjs.</h3>
</body>
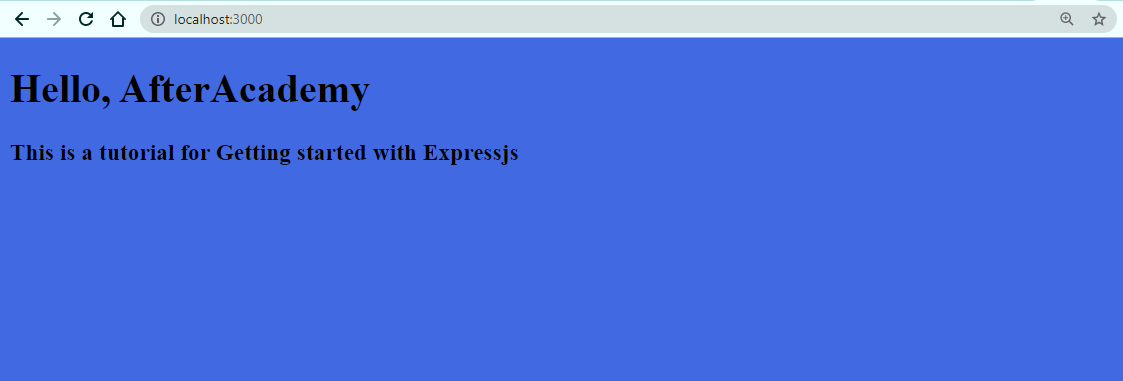
</html>Also, write some code in style.css as well:
body {
   background-color: royalblue;
}
Now, write the following code in
server.js
file:
app.use(express.static('public'));
We know that if we want to use middleware, we have to call
app.use()
.
express.static()
takes the path to the directory that you want to serve as a static resource. So the above one line is setting the
public
folder as a static folder.
The
server.js
will look something like this:
const express = require('express');
const app = express();
const port = 3000;

app.use(express.static('public'));

app.get('/', (req, res) => {
   res.send("Hello, AfterAcademy!");
});
app.listen(port, () => {
   console.log(`Server is up at ${port}`);
});
Start the server again and go to the same URL and see the changes!
That's all for this section. Now, let's move to the next section and see how a boilerplate code for express looks like.
Scaffolding
Most projects require a certain amount of boilerplate code because developers don't want to recreate the same code every time. What we can do is just create a template of a project and every time you need a new project, you just copy the template. This is called Scaffolding. Express also provides this utility which is very useful for managing the files in proper directories and helps us in creating a skeleton for our Express application. It provides various scaffolding tools like express-generator, yeoman, etc.
Let's generate a skeleton for our application using express-generator. First, we have to install the express-generator. Type in the below code in the command prompt for the same:
npm install -g express-generatorNow for using express-generator, you need to type in the following command:
expressOnce you hit enter, your output should look like this:
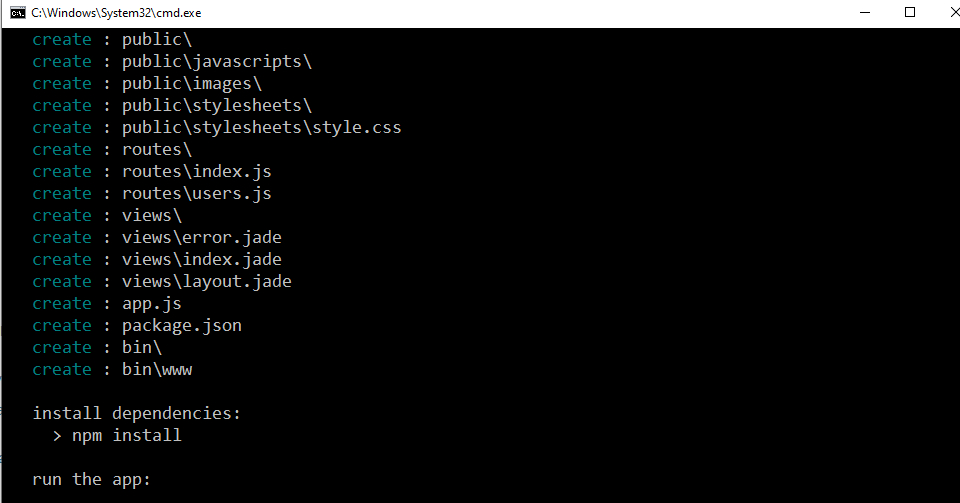
Now go back to your project directory and check the project structure. It should look something like this:
├── app.js
├── bin
│   └── www
├── package.json
├── public
│   ├── images
│   ├── javascripts
│   └── stylesheets
│       └── style.css
├── routes
│   ├── index.js
│   └── users.js
└── views
    ├── error.jade
    ├── index.jade
    └── layout.jade
Now let's run the skeleton. Open the terminal, navigate to the root directory of the project, and type the following command:
npm installFinally, run the application by typing the following command in windows:
SET DEBUG=project-directory-name:* & npm startIn place of project-directory-name, type the name of your root directory.
On macOS or Linux, use this command:
DEBUG=project-directory-name:* npm startAfter this, navigate to http://localhost:3000/ in the browser. You should see a browser page that looks like this:
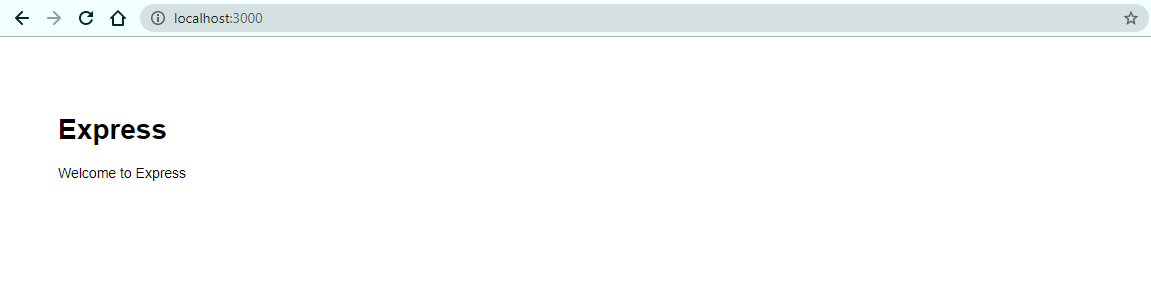
We have now a working express application. Now, Let's explore the express app architecture.
1.
bin
: A bin directory is a place where you can define your own startup scripts. By default,
www
is present which is a javascript file that starts the express app as a web server. It is the application entry point. This handles some of the error-related code and then loads the
app.js
file.
If you closely look at the script section of
package.json
file, you will see this:
"scripts": {
   "start": "node ./bin/www"
}
This denotes that whenever you write
npm start
,
you actually invoke this start script which further loads
app.js
.
2. public : This is the directory where all the static content goes. By default, it contains 3 more directories- images, javascript, and stylesheets.
Take a look at the
app.js
file, you will see this line:
app.use(express.static(path.join(__dirname, 'public')));We already know what this line means. In this, they have used the path module (which is one of the Nodejs core module) rather than hard coding the path to the public directory.
3.
routes
: The routes to various endpoints will go inside this directory. They have used the
express router
for various routes and then exported them to other files. By default, it contains 2 files
index.js
and
user.js
.
You can, of course, add many more files.
4. views : views or templates are stored in this directory. These are used when you are using any template engine in your application. A template engine helps us to use static template files in our application. The template engine converts the template into an HTML file and sends it to the client. This makes it easier to design an HTML page and render it on the client-side. There are many template engines like Pug, Handlebars, EJS, jade, etc. In our application, the view engine(template engine) that is used is "jade".
Take a look at
app.js
,
you will find these two lines
:
// view engine setup
app.set('views', path.join(__dirname, 'views'));
app.set('view engine', 'jade');
The first line tells where the view engine is located and the second line tells what is the name of the view engine.
With this in place, we are done!
Closing Notes
Congratulations on making till the end. We have learned a lot in this article, I hope you now have a decent knowledge of Express. We learned what is express, how it is used in the development environment, and what all features it provides. I will come with more articles on this topic.
Till then: Keep Learning :)
Team AfterAcademy!!


